Case Study 4

OverviewThis wonderful patient was referred to us by a local periodontist to discuss options to replace her teeth.  She had issues with cavities and was looking to replace the upper and lower teeth with something that could not be removed.  We developed a plan to make teeth that were connected to implants and at no point did she have to wear something that could be removed.  The day the teeth were removed by the periodontist, we connected a temporary prosthesis to the implants to wear while she was healing.  After several months of healing, we made 3D printed provisionals to confirm that the esthetics looked great and the bite was accurate.  After the patient approved these provisionals, the final prosthetics were made out of a nanoceramic material that is highly esthetic.  The patient was thrilled with the final result!

Step 1- Initial presentation

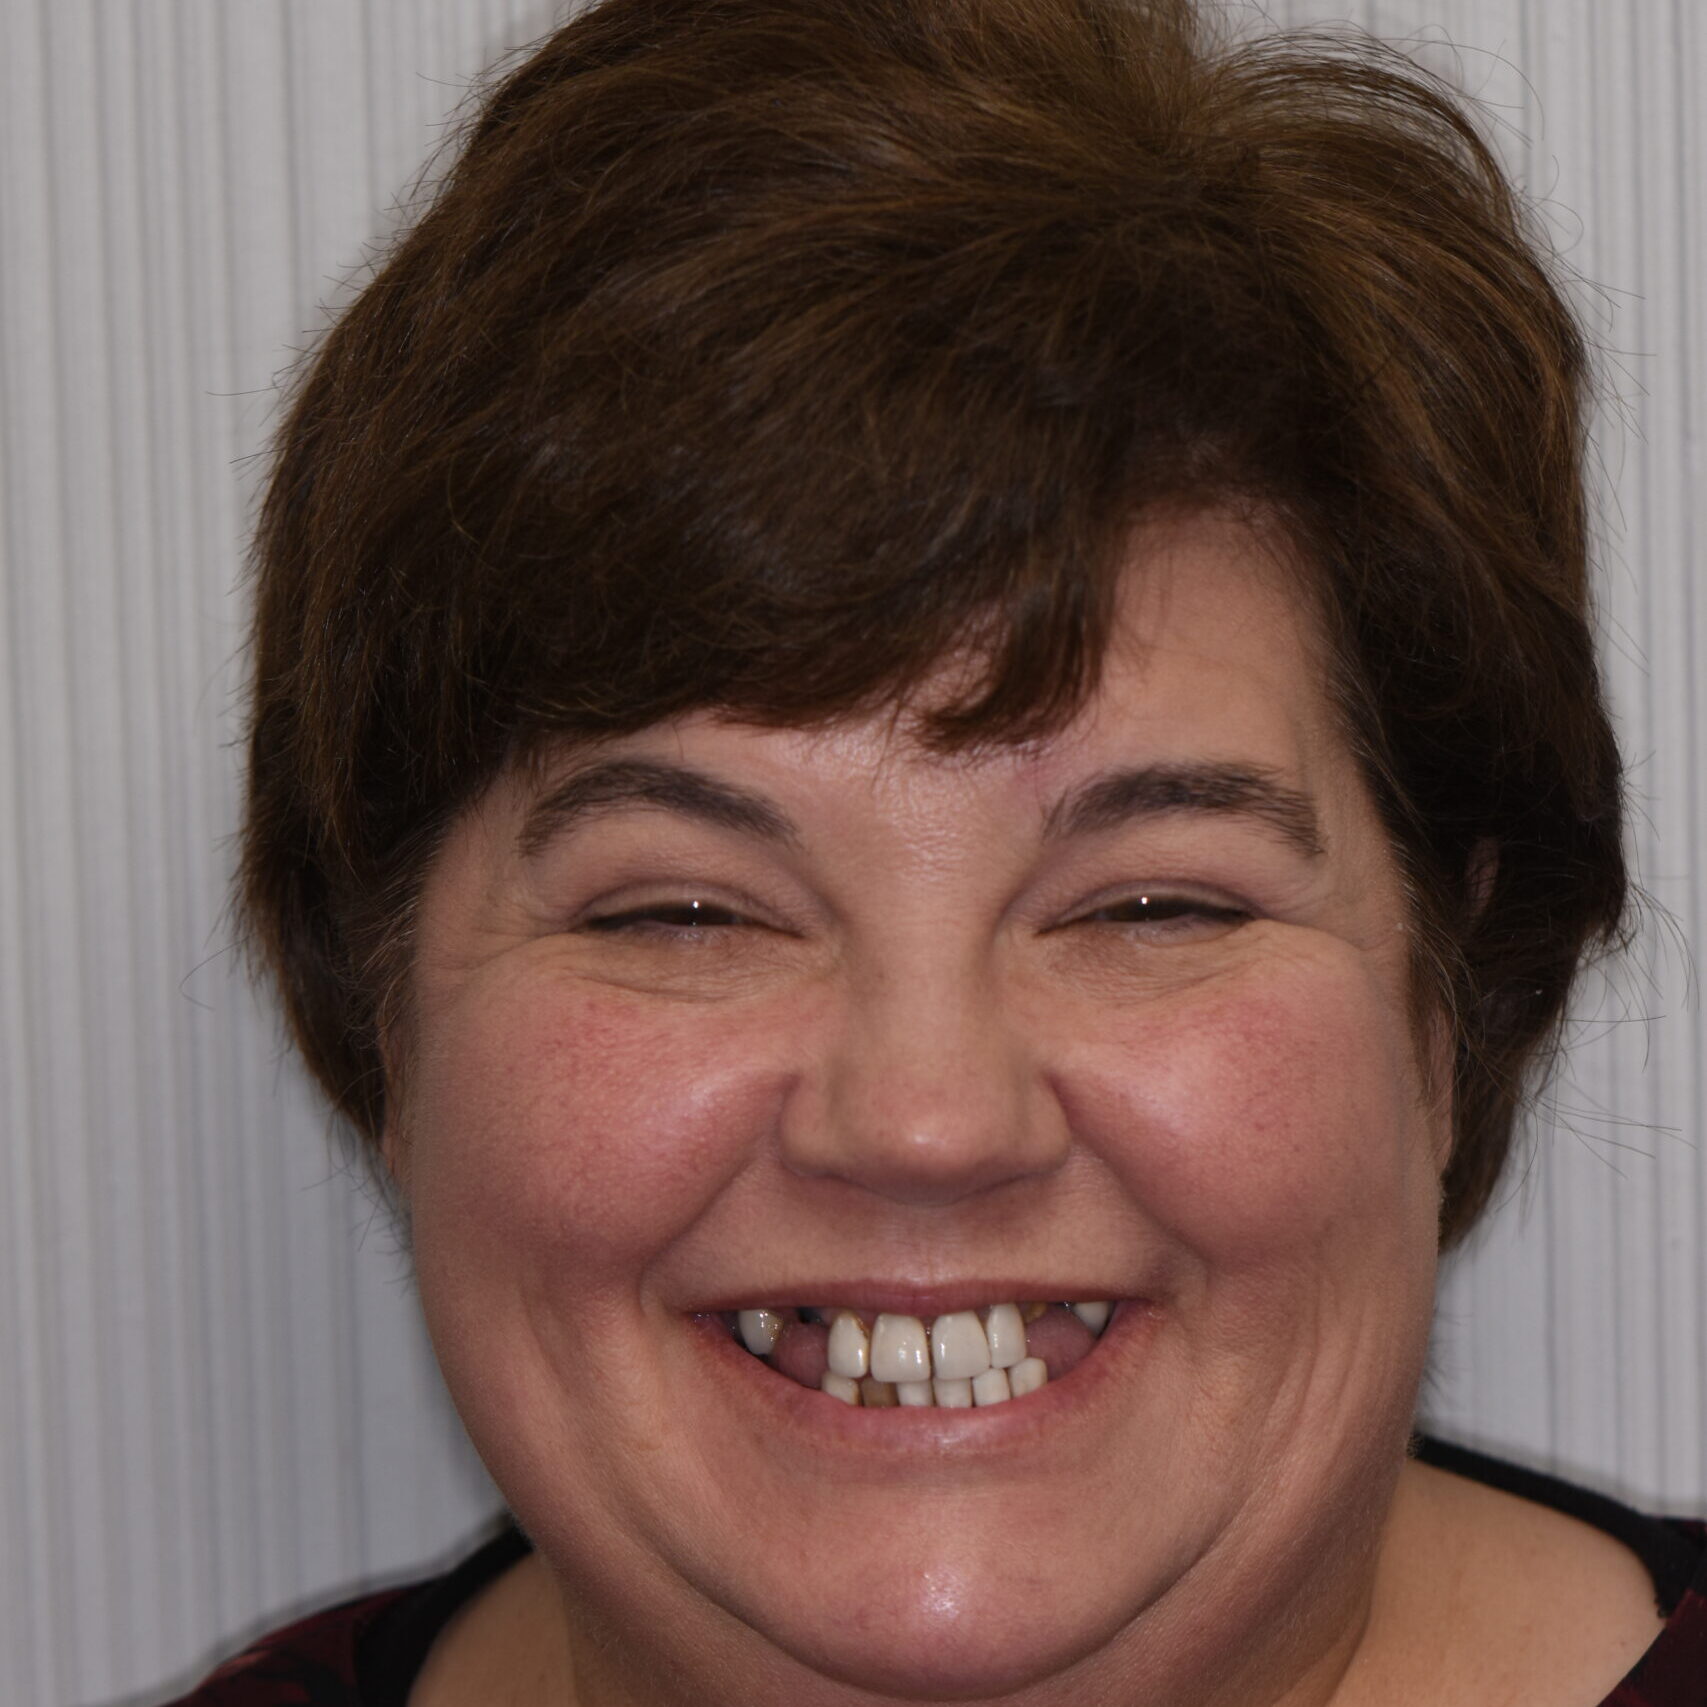
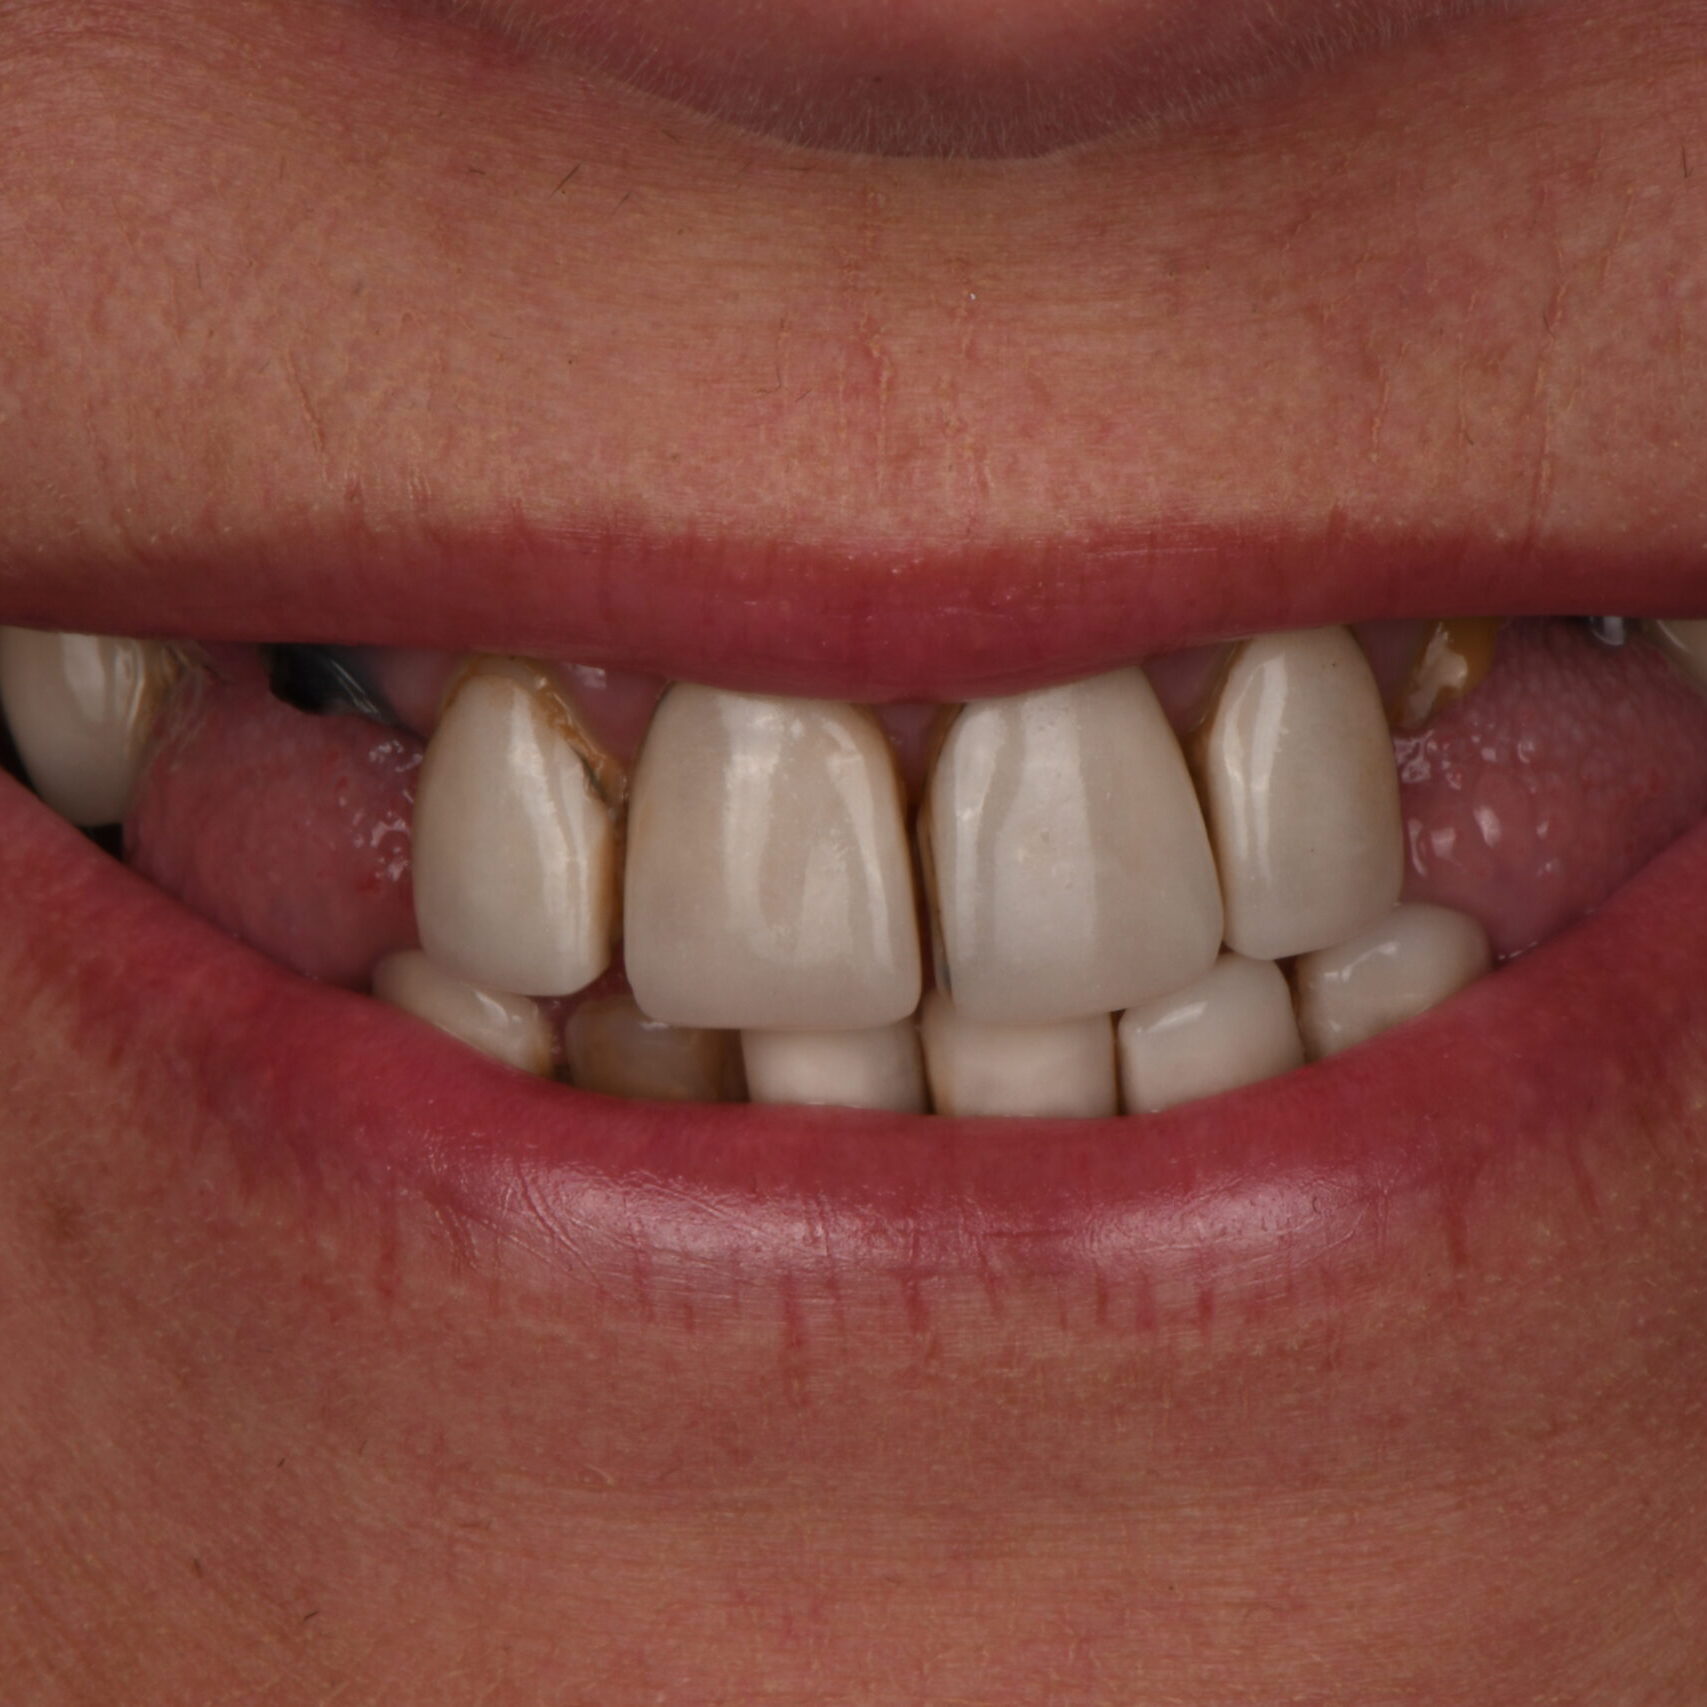
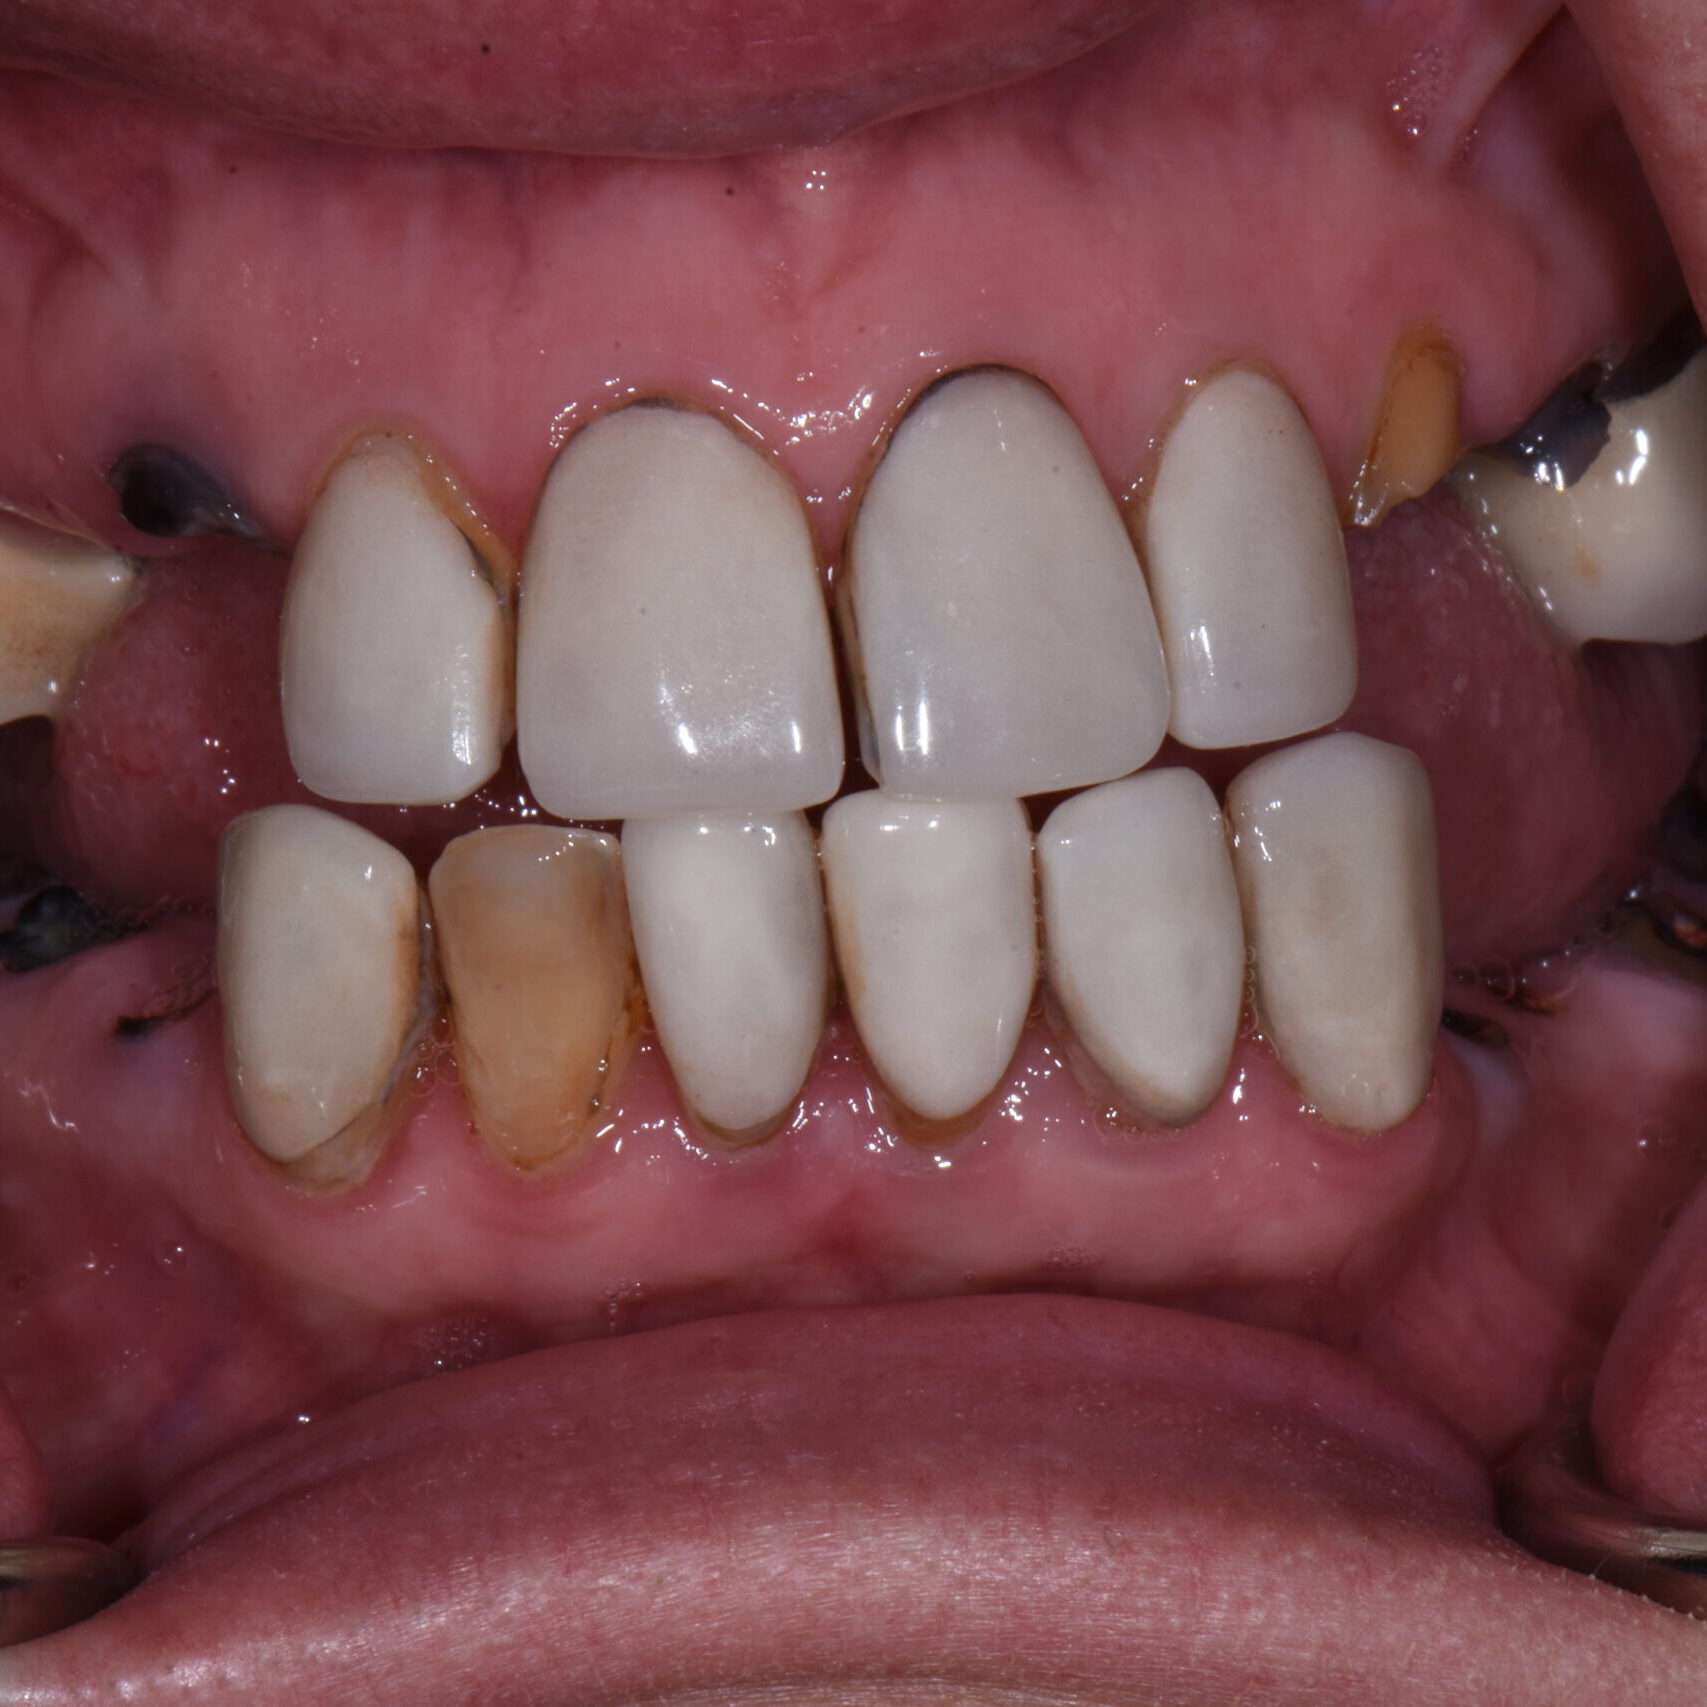
The patient presented with a failing dentition due to decay (cavities).  A plan was made to replace her teeth with the most natural, esthetic option.  We decided to restore the teeth with an All-on-4 approach where teeth are connected to implants the day of the surgery.  

Step 2- Close up Smile

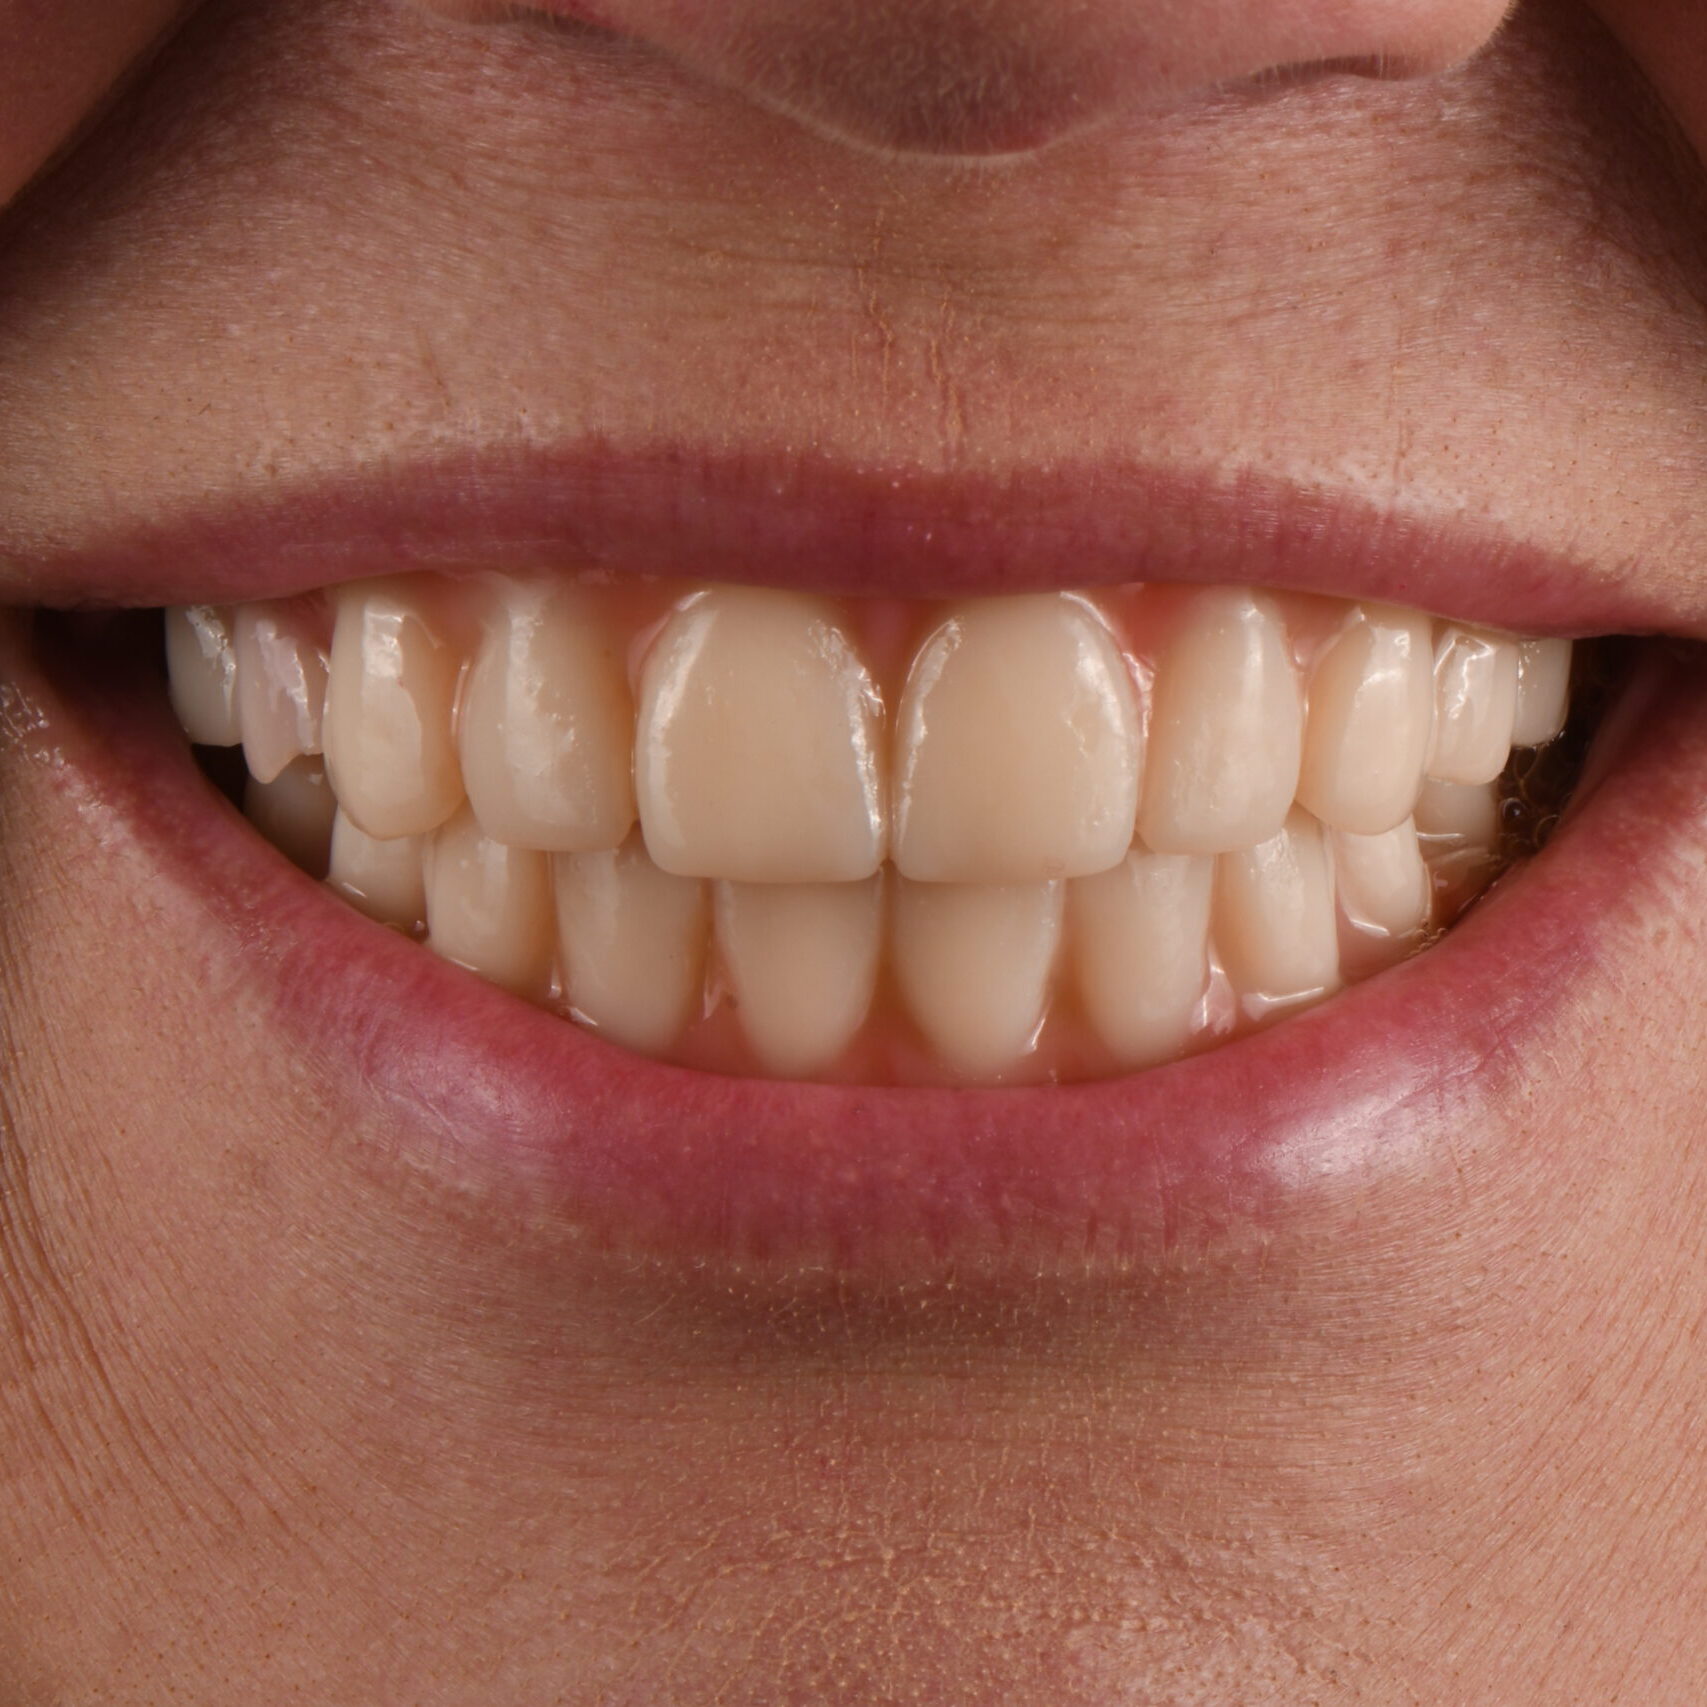
The patient had previously had veneers and crowns to restore her teeth.  These had broken off or been lost due to a history of decay.  The patient had also had several bad experiences at the dentist and had stayed away due to the fear that created.

Step 3- Retracted view

This photos helps develop the plan to make sure that the treatment option we select fits the patients goals and will be successful

Step 4- Provisional hybrid

This photo was taken several weeks after her surgery.  The provisional teeth were attached to the implants to make sure the patient did not go without teeth while the implants were healing.  She was very pleased with the provisionals!

Step 5- Close up after surgery

This close up photo of the smile allows us to analyze the esthetics.  The patient was very pleased with the look of the new teeth but decided she wanted them to be whiter when we made the final prostheses.  

Step 6- 3D Provisionals

3D printed provisionals are tried in the office to make sure the esthetics look great and that the bite is stable.  After the patient approves the esthetics, the final shade is selected and the permanent prostheses are made.  This is the most important step to ensure the smile looks good and the bite is correct. These provisionals are only worn in the office while trying them in.

Step 7- Final hybrid

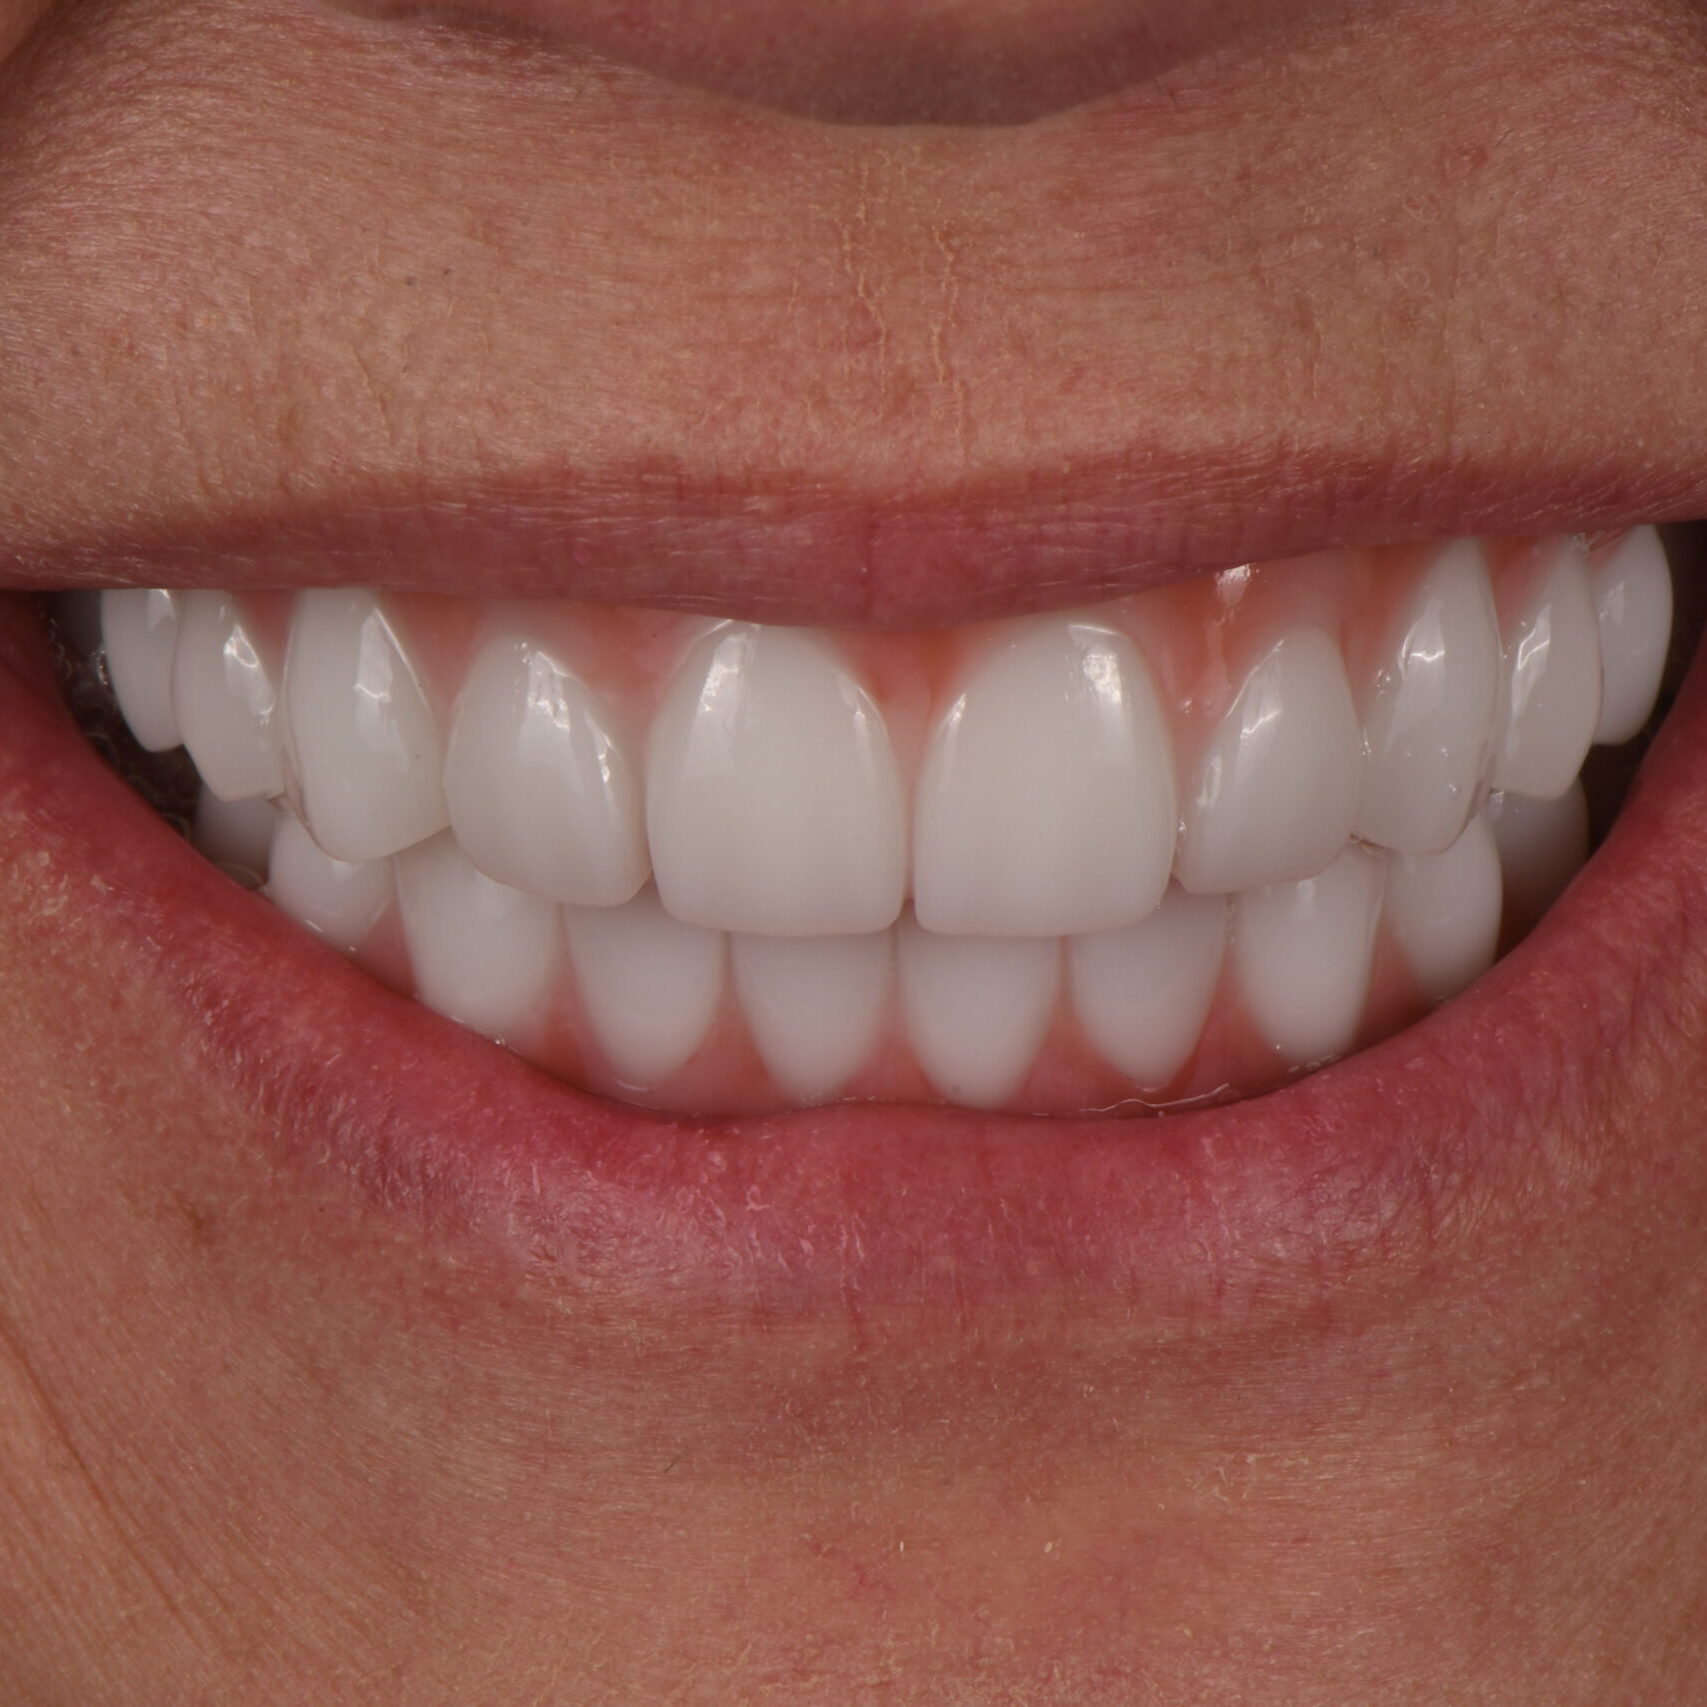
This photo shows the final prosthetics that were made with nanoceramic material that looks beautiful.  The patient was thrilled with the final outcome and loved the brighter shade of the final teeth.

Step 8- Close up of the final

This close up photo allows us to confirm that the smile looks beautiful and that we achieved the desired results.  

Our Patients Love Their Experience with Us

Our Patients Love Their Experience with Us

Lisa Stroup
a week ago
Dr Hamrick recently replaced a crown for me and did a wonderful job. New technology allowed me to have only one visit for the complete...
David Dubocq
a month ago
Today was very enlightening for me. Dr. Hamrick was able to install a crown on my back molar , that he made at his...

SMILE WITH CONFIDENCE. CALL TODAY.

(864) 292-5125

Patient Financing

Find out More about our Patient Financing Options to make your advanced care more affordable
Meet Dr. Preston Hamrick
About Your First Visit