Case Study 1 - Pam

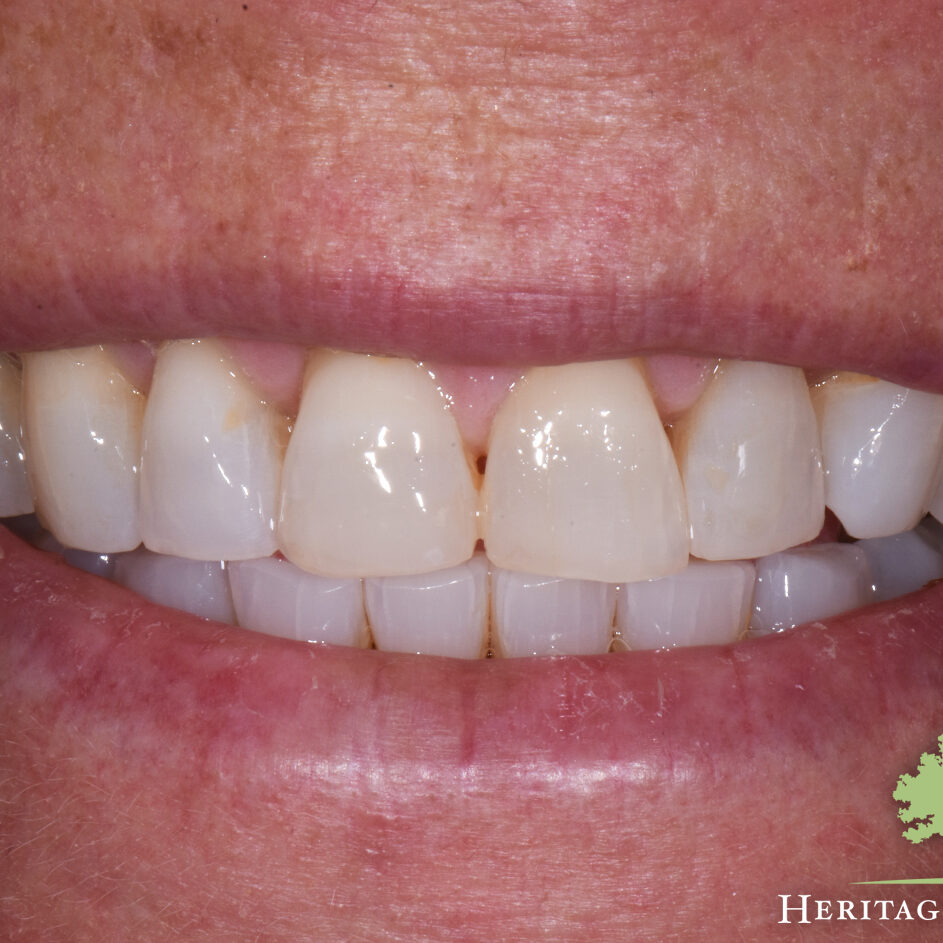
Overview:  Pam disliked the prominence of her front two teeth and how worn the edges of her teeth had become.  She had previously had bonding (white fillings) placed on her teeth to improve the looks of them but she felt that this did not accomplish her goals and the edges of the front two teeth kept chipping off.  The final result she wanted was a broader, balanced smile with whiter teeth.


With her goals in mind, we designed a smile that would accomplish what she wanted and give her a stable bite.  In her case, she needed to move the lower teeth to prevent chipping of the her new upper teeth.  We accomplished this with Invisalign prior to reshaping the upper teeth for her new smile.  After the Invisalign, we tried in the design which gave her a chance to preview her new smile before we made any changes.  With the new design approved, we reshaped the teeth to give her the smile she wanted.  Pam wore temporaries that reflected the new shape and length of her teeth while the master ceramist built the final restorations.  The new crowns/veneers were tried in and approved prior to cementing.  The final result was exactly what Pam had hoped for and we were so happy she trusted our practice to do this for her!

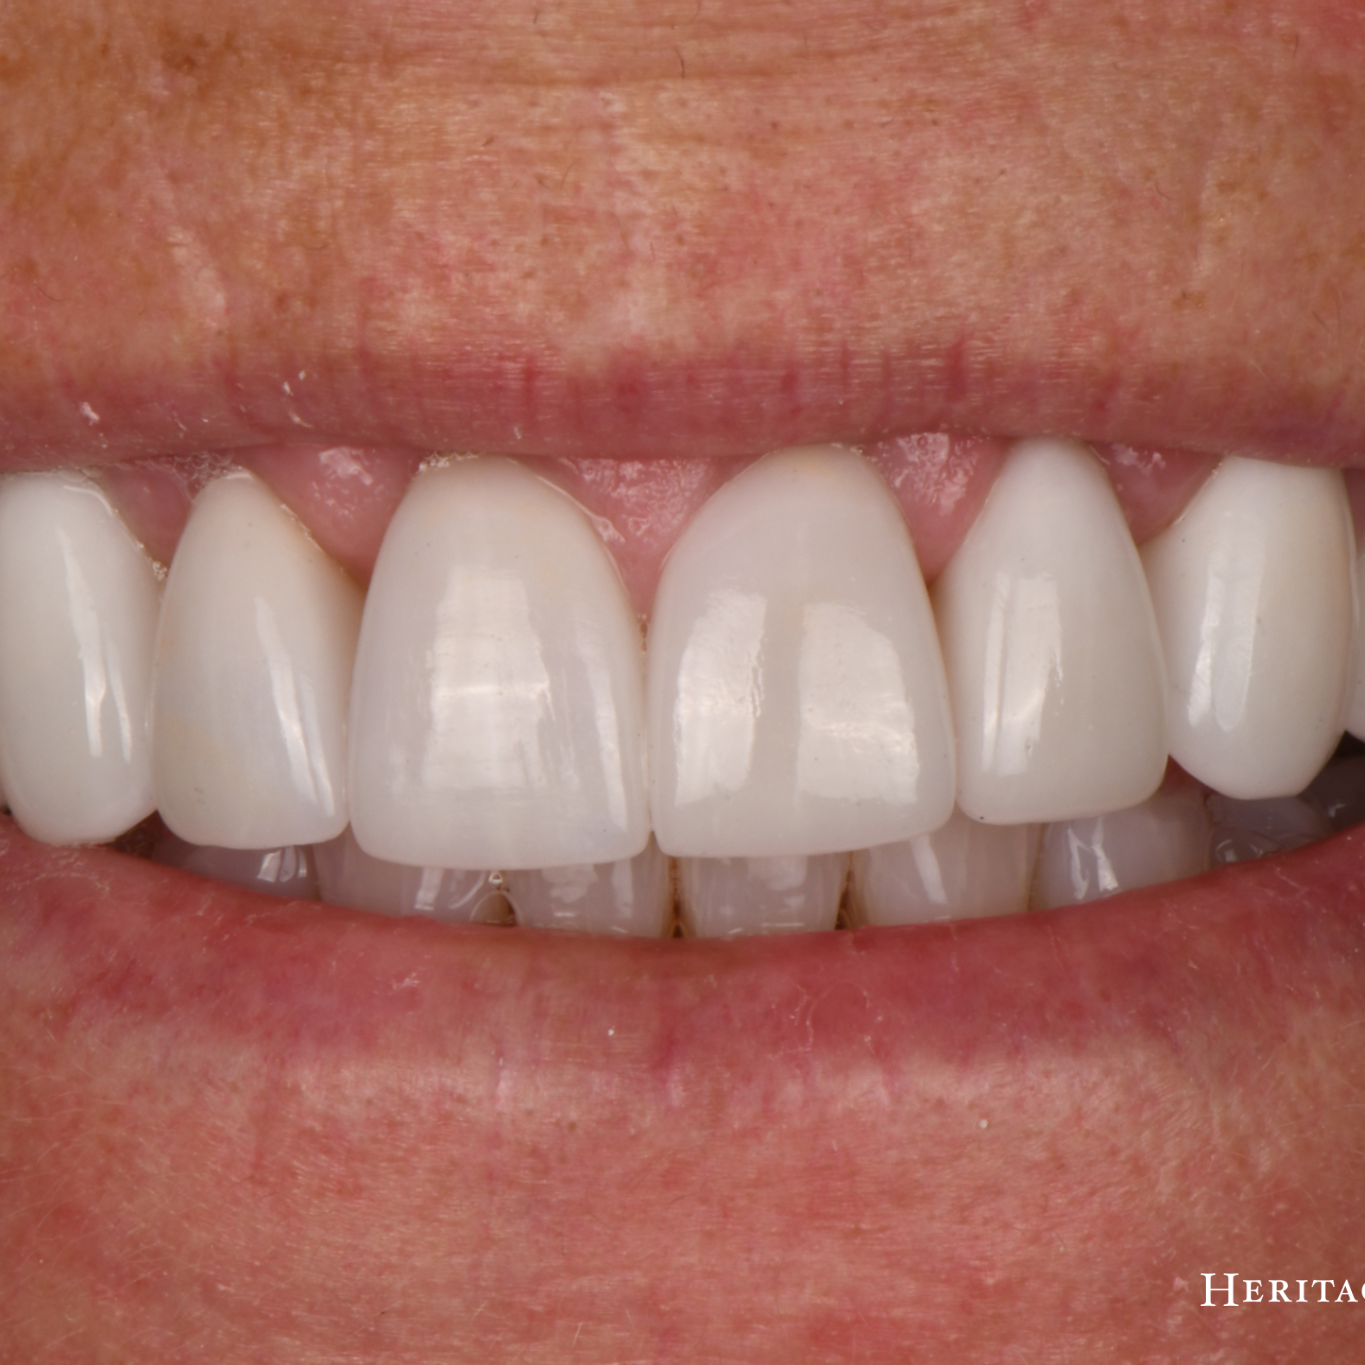
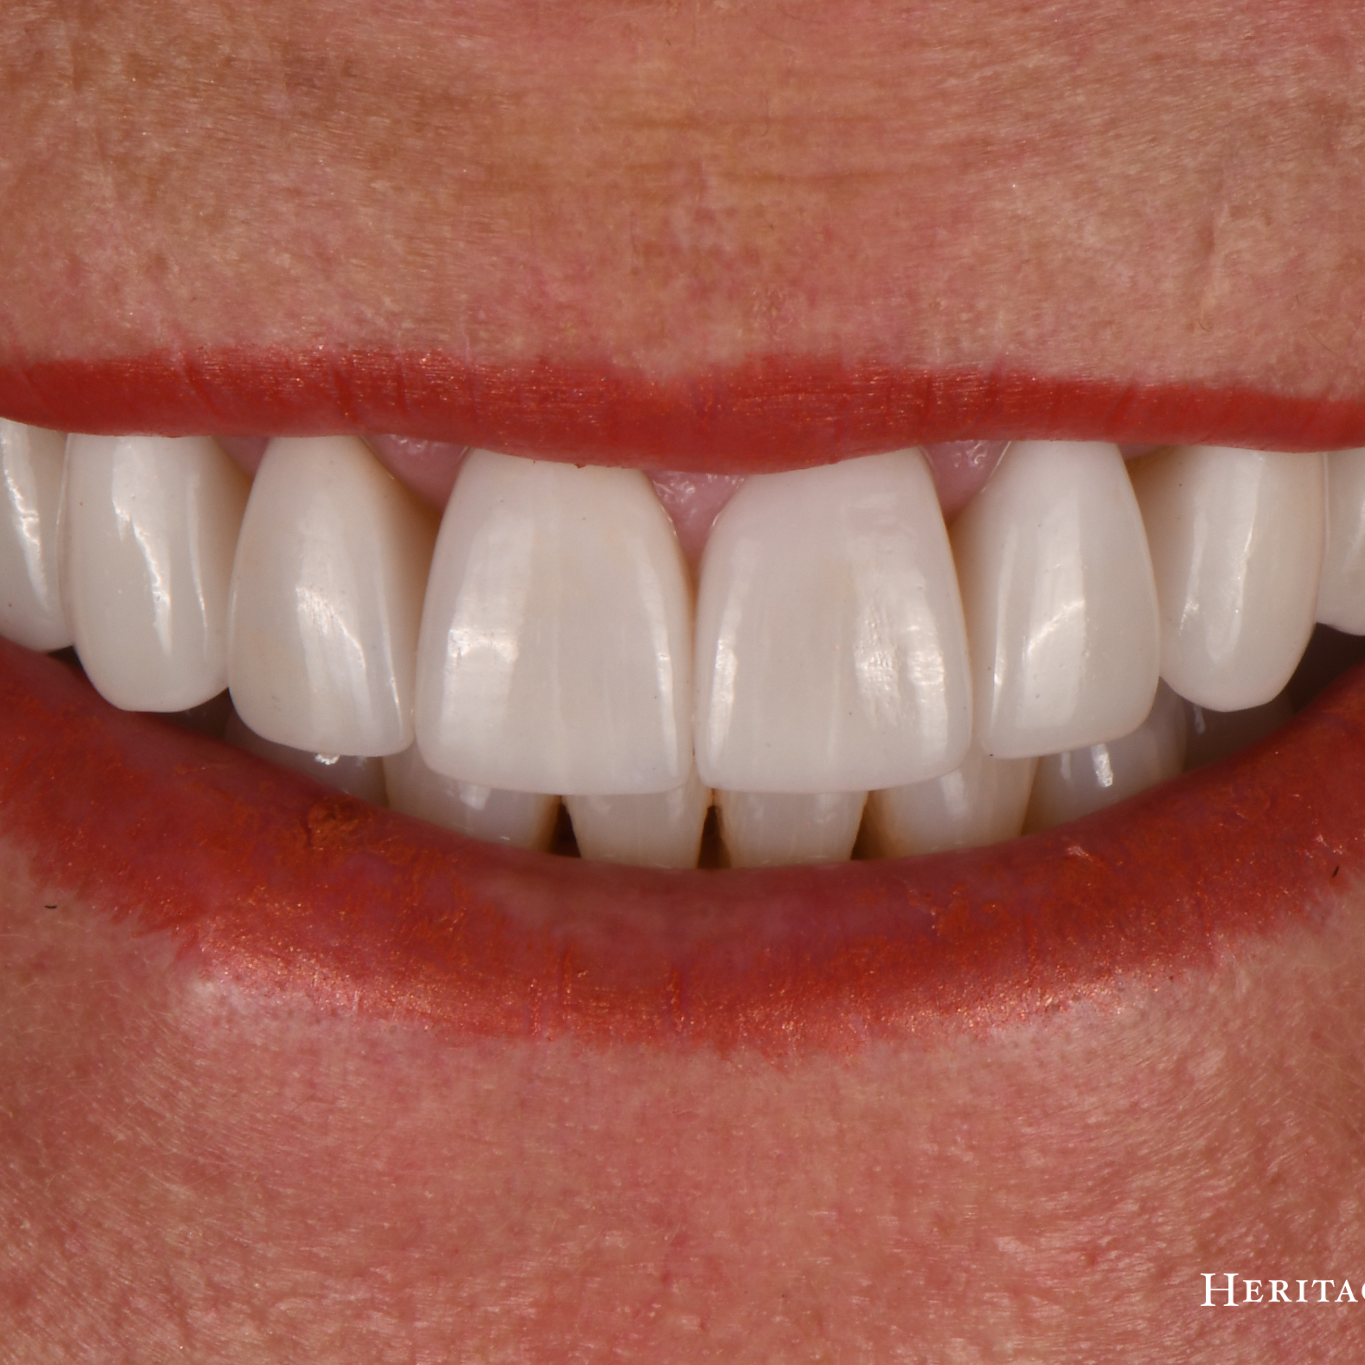
Final Result

Final Result:  These are the final restorations that accomplished Pam’s goal of having a brighter and broader smile.  She is thrilled with the results we were able to provide!

Step 1 - Primary Concern

Worn edges, unhappy with the shape and color.

Step 2 - Analysis

Worn edges of the upper front teeth from supra eruption of the lower teeth. 
Discoloration from root exposure due to gum recession.

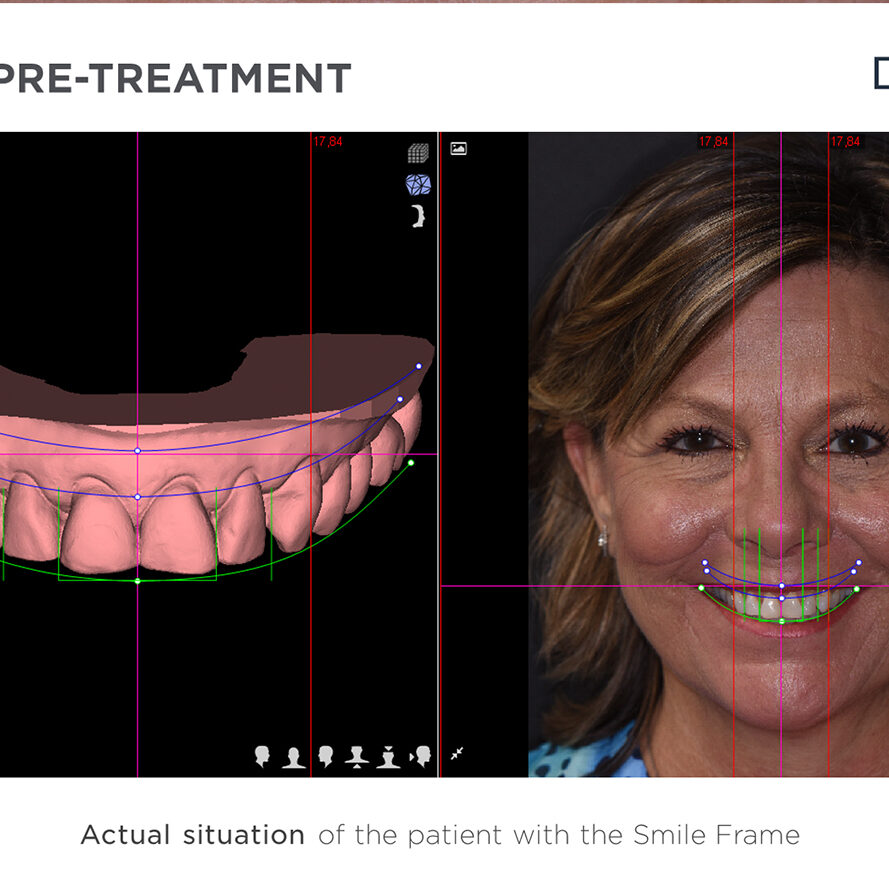
Step 3 - Smile Design

Digital scans of the teeth are used to design the new smile.

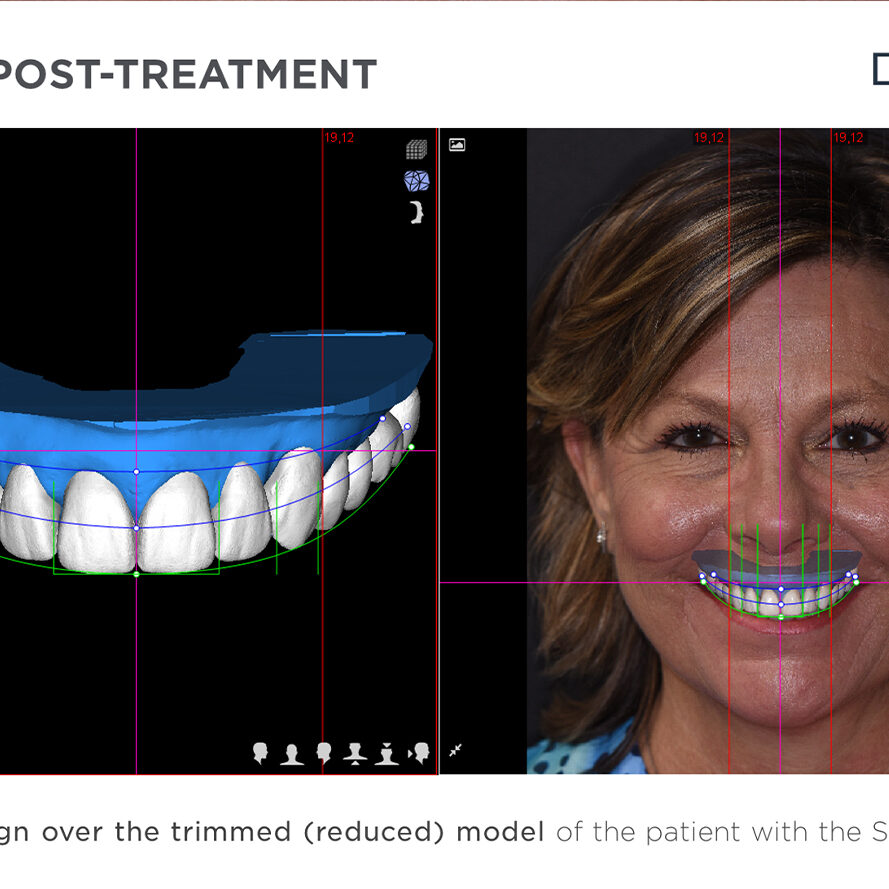
Step 4 - Digital Try In

The new design is tried in digitally to see how it would look in the face.

Step 5 - Smile Design

Proposed design is tried in the mouth to let the patient see the changes prior to any reshaping of the teeth.

Step 6 - Provisionals

These are the provisional (temporaries) the patient wears to make sure she is happy with the changes while the final restorations are being made.

Step 7 - Final Veneers/Crowns

The permanent crowns and veneers were placed.

Step 8 - 2 year Follow Up

The patient is very pleased and her goals were accomplished with her beautiful smile!

Step 9 - Full Face

The patient is very pleased and her goals were accomplished with her beautiful smile!

Our Patients Love Their Experience with Us

Our Patients Love Their Experience with Us

Lisa Stroup
a week ago
Dr Hamrick recently replaced a crown for me and did a wonderful job. New technology allowed me to have only one visit for the complete...
David Dubocq
a month ago
Today was very enlightening for me. Dr. Hamrick was able to install a crown on my back molar , that he made at his...

SMILE WITH CONFIDENCE. CALL TODAY.

(864) 292-5125

Patient Financing

Find out More about our Patient Financing Options to make your advanced care more affordable
Meet Dr. Preston Hamrick
About Your First Visit